Verifying your identity is an important part of the onboarding process, and our partnership with Stripe makes the process simple and secure.
To get started, make sure you have your ID ready to go, and click Start Verification.

If your screen doesn’t look like this, go to our help guide for verification without Stripe.

You can provide your ID either by taking a photo, or uploading an image. Select the method you would like to use and click Next to continue.

Select the type of ID you will be using and click Next.

If you encounter the following message, it means your device is not equiped to take photos. Don’t panic! Simply scan the QR code to continue with the verification process on your phone.


The next step is to upload or take pictures of your ID.
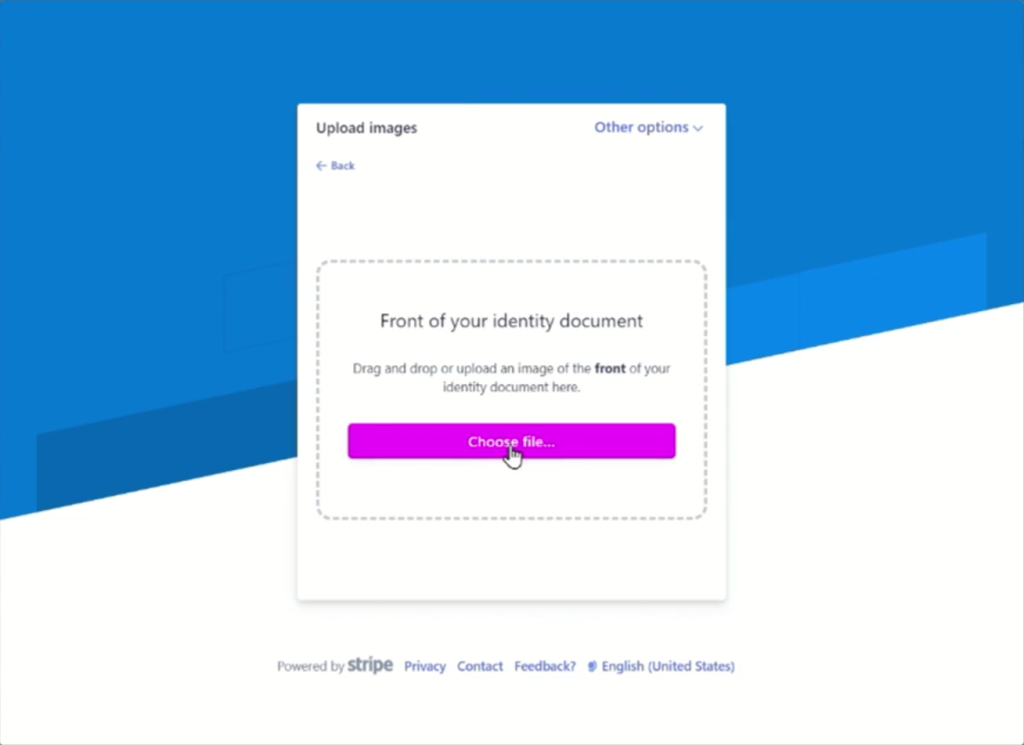
You will need to provide images of both the front and back of your ID.


If you are happy for Stripe to use your images to help improve its biometric verification technology, click Allow. If you don’t wish for this to happen, click Decline. This will not affect your verification process.

Next, you will be asked to take three photo of yourself using your webcam or phone camera. Stripe will use biometric analysis to verify your face matches the photos on the ID being uploaded. This is an effective way of ensuring no one can use photos of stolen IDs to fraudlantly gain access.


Once Stripe has analysed your selfies, click Continue on this device.

You will then see a confirmation screen that verification has been submitted. Click Done and you will be returned to the Seamlss onboarding page.

All you need to do now is click Save and then Continue.

Your ID verification has been completed. Your accounting firm will contact you if there are any other steps to be completed.


