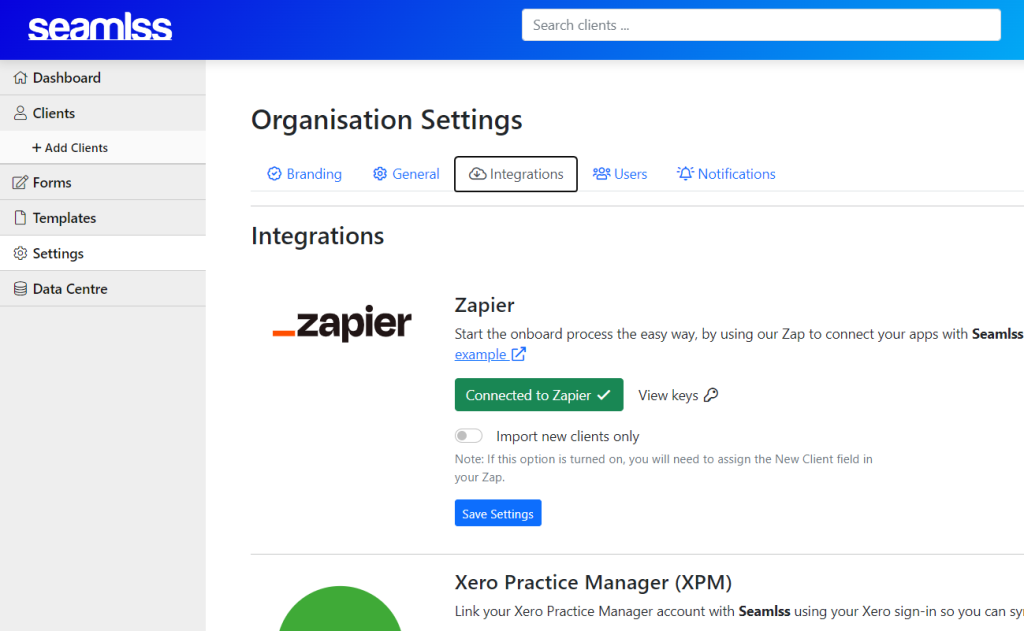
Log into your Seamlss dashboard and go to Settings, then select the Integrations tab, as per the image.

Scroll down to Xero Practice Manager and click the green Connect to XPM button,

If you are already signed in to XPM the process will be taken straight to the next step, if not you will be prompted to sign in to XPM.
Xero will ask for permission to connect Seamlss to your firm’s Practice Manager account. Simply click on the bottom blue Allow Access button to continue.

Once connected, you will now have a green tick, and a sign out button if you wish to disconnect XPM later.

There are also sync options available to manage how data will appear when synced with XPM.
You can input an Agent Name that will be the default agent for all clients synced to XPM, or leave blank if you don’t want a default agent.

If you would like certain information to be capitalised in XPM, toggle on the switches for the relevant types of data (first name, last name, other names, town/suburb, or country).

If you would like names to be displayed in a certain way, eg. last name followed by first name, you can set a custom format using the tokens. Examples are provided for you to follow, simply type the desired format into the text field and hit the blue Save Settings button.

When you go to a client’s details you will see that you can now push this client’s collected data into XPM.


