Under the Branding tab in Settings, you can add your organisation logo, email, and brand colour.

Start by filling out your firm’s name and email.
The Organisation Name will determine how your firm’s name is displayed in various areas of Seamlss.
Organisation Email is the email address your clients will reply to when interacting with Seamlss emails. We recommend you enter the email address of the team member who handles your onboarding process.
Logo #
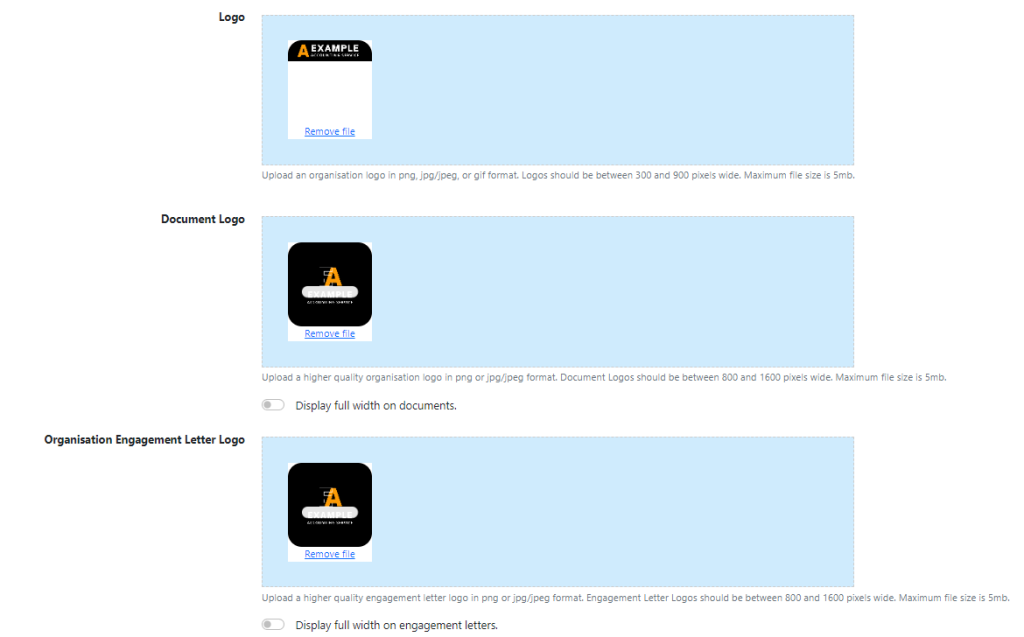
Click on the Replace Logo button under the existing logo to upload an image of your firm’s logo in png, jpg/jpeg, or gif format. Logos should be between 300 and 900 pixels wide. Maximum file size is 5mb. This will appear in emails and landing pages that clients will see when interacting with your firm and Seamlss.
Click on the blue box to chose your file to upload, or simply drag-and-drop.

Document Logo #
Click on Replace Document Logo to change the logo that appears on documents. This may be the same as or different to your standard logo. Upload a higher quality organisation logo in png or jpg/jpeg format. Document Logos should be between 800 and 1600 pixels wide. Maximum file size is 5mb.
The image will be displayed at the size of the image. Eg. if the image is 900 pixels wide, it will appear at 900 pixels wide on documents.

To have your logo across the whole width of the page, toggle the Display full width on documents switch to on.

Organisation Engagement Letter Logo #
Click on Replace Document Logo to change the logo that appears on Engagement Letters. Upload a higher quality engagement letter logo in png or jpg/jpeg format. Engagement Letter Logos should be between 800 and 1600 pixels wide. Maximum file size is 5mb.

To have your logo across the whole width of the page, toggle the Display full width on documents switch to on.


Click the blue Save Settings button to save your progress.

Brand Colours #
Now change the colour to match your firm’s brand colours. Your main brand colour is applied to buttons and minor areas such as borders and horizontal divides. Combined with your logo, it gives clients a sense of familiarity in their Seamlss experience.
Click on Main Brand Colour to bring up the colour picker. If you know the RGB values of your branding colour, you can enter them manually for precise branding. By clicking on the up/down arrows, you can toggle between RBG, HSL, and HEX modes. Alternatively, you can use the dropper to select a colour from your logo. You can also change the colour by clicking anywhere on the colour picker and adjusting the slider to change the hue, although doing so could result in less consistent branding. We recommend sticking with a colour from your logo.

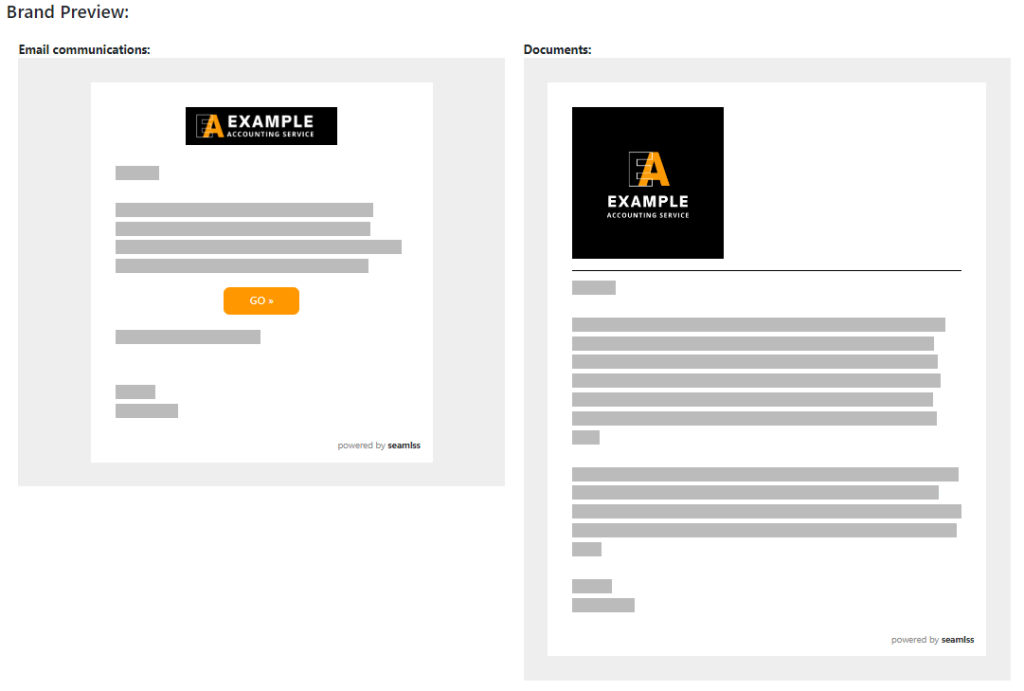
A preview of how your branding will appear in Seamlss emails and documents is displayed at the bottom of the page.

When you’re finished, click the blue Save Settings button.


