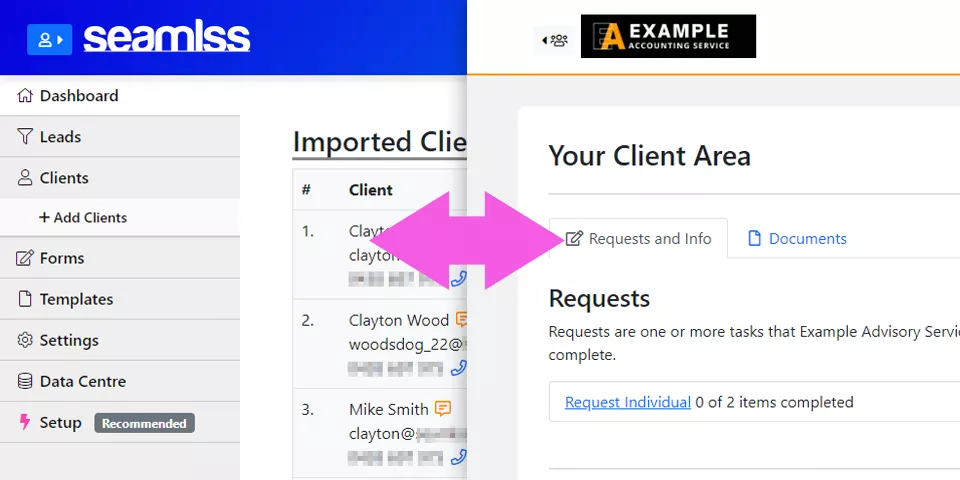
Setting yourself up as a client allows you to switch between firm view and client view with ease. If you need to check what forms will look like, you can send one to yourself and view it easily. You will be better able to help your clients if you are familiar with what the client area looks like.
All you need to do is add yourself as a client with the same email address and phone number that you use when logging into Seamlss. Log out, then log back in.
Keep reading for a step-by-step guide of this process.
Step-by-Step Guide #

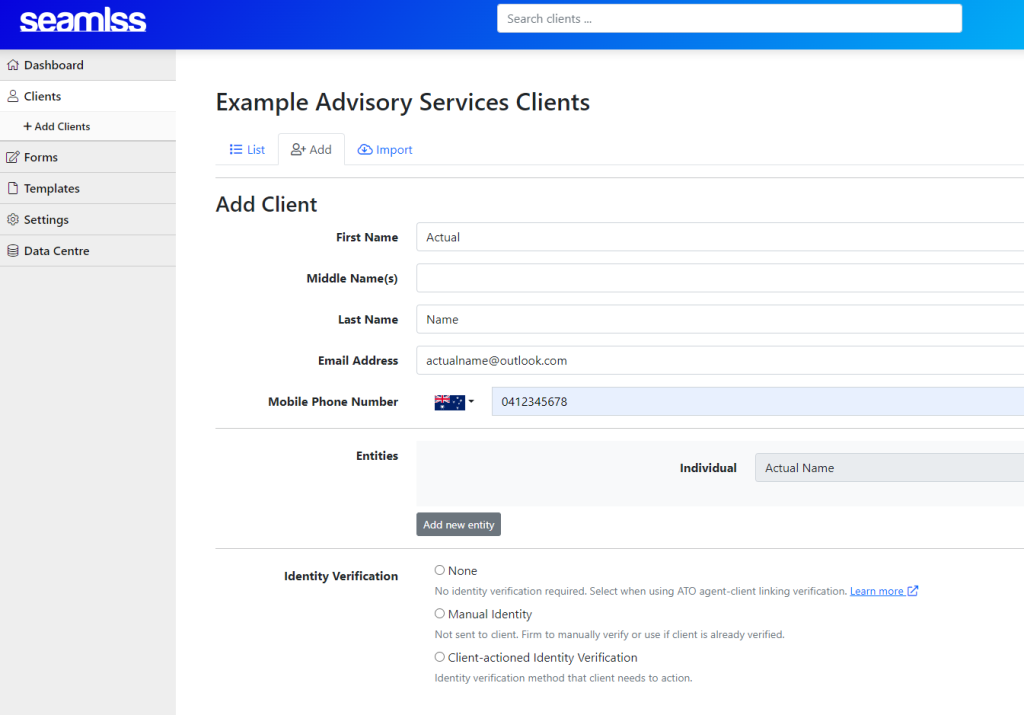
Click the +Add Client button on the left-hand side of the screen, then go to the tab marked +Add.

Fill out your details and make sure you use the same email address and phone number that you used when signing up for Seamlss.
As you wont need to collect any extra data for yourself you can skip the Fetch Forms and ITR Forms section. Tick Skip signing engagement letter by client.

You can untick Send Email Request, as it is not necessary to confirm anything in order to become a client, however if you would like to see what the client receives, we recommend keeping this box ticked.

Click the blue Add Client button.
You will then need to log out and then log back in. Now upon logging in you will be asked if you would like to go to your Dashboard or your Client Area.

Now that you have added yourself as a user, a button will appear next to the Seamlss logo to allow you to access the client area from within your dashboard.

Clicking the button with the symbol of a person will take you straight to the client area. To return to the dashboard, click on the button next to your firm’s logo at the top of the page.

Check out the Add Clients guide for more detailed instructions on adding clients.


