Connecting Zapier with Seamlss
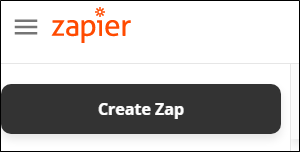
Log into Zapier, then click on the Create Zap button
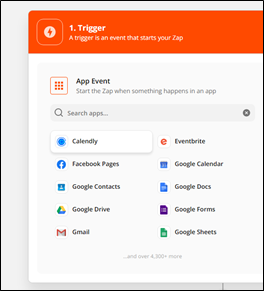
Pick your booking tool, e.g., Calendly.
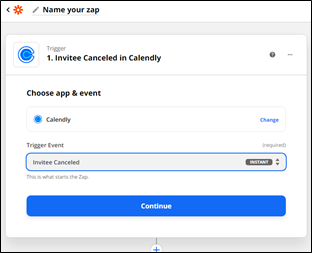
Select your trigger event.
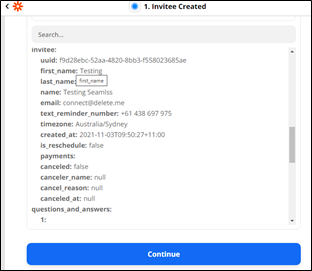
Choose your Calendly Account (or your preferred booking platform account), test the trigger works. See data pulled and check it was a recent client you would possibly onboard using Seamlss.
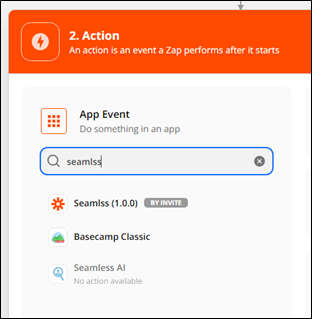
Next, pick an Action and search for “Seamlss” to find the Seamlss Zap.
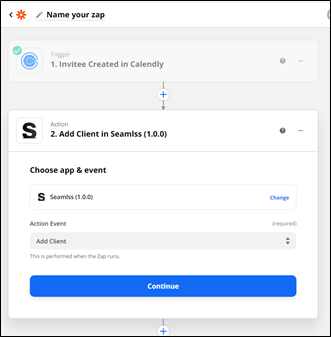
Once In, choose the “Add Client” Action Event.
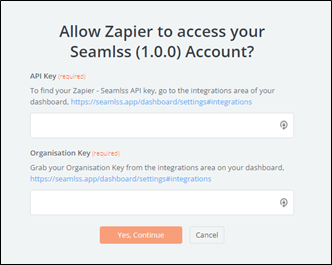
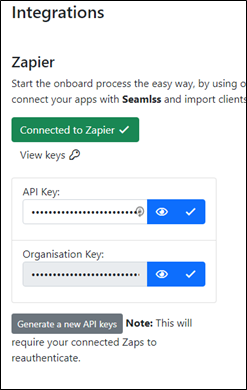
Click continue and then sign into Seamlss, a new browser pop up window will appear asking for an API Key and Organisation Key. Follow the links to your Integrations area on Seamlss to get your keys.
Click the “Connect to Zapier” button to generate your keys.

Copy each key from Seamlss and paste into the appropriate text field on the previous Zapier popup.
After adding the keys, press “Yes, Continue” to authenticate.
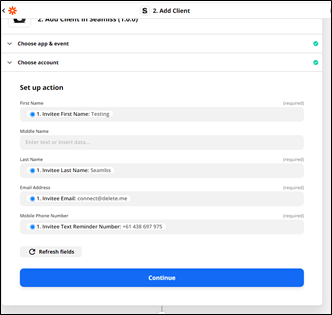
Next, setup the fields to be pulled into Seamlss to onboard clients. First Name, Last Name, Email and Mobile phone number are all required. Middle Name is optional.
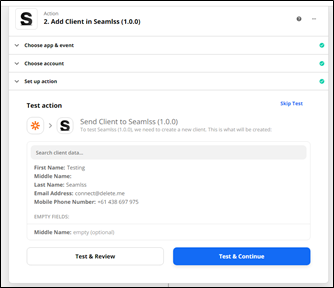
Press “Continue” to preview the test data that will to be pushed into Seamlss.
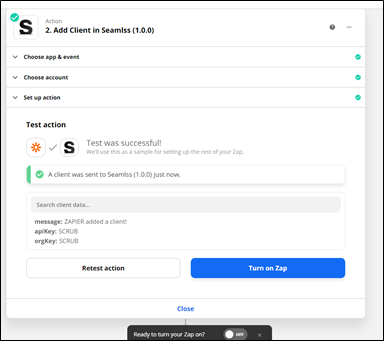
Press “Test & Review” or simply “Test & Continue” to run the Zap and push the data into Seamlss.
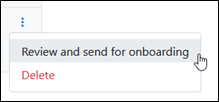
To confirm that the client has been successfully imported, go to your Seamlss dashboard. Imported clients will appear at the top of your Dashboard for the admin team to action.

Once you have confirmed the client has been pushed into Seamlss, you can turn on your Zap!
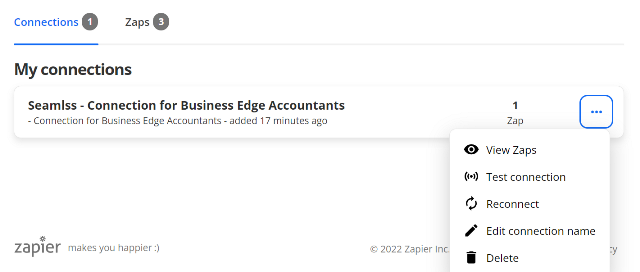
ZAPIER CONNECTION ISSUES?
Check our other pages to reconnect it by deleting the apps connections via Reconnect Zapier help page.
